


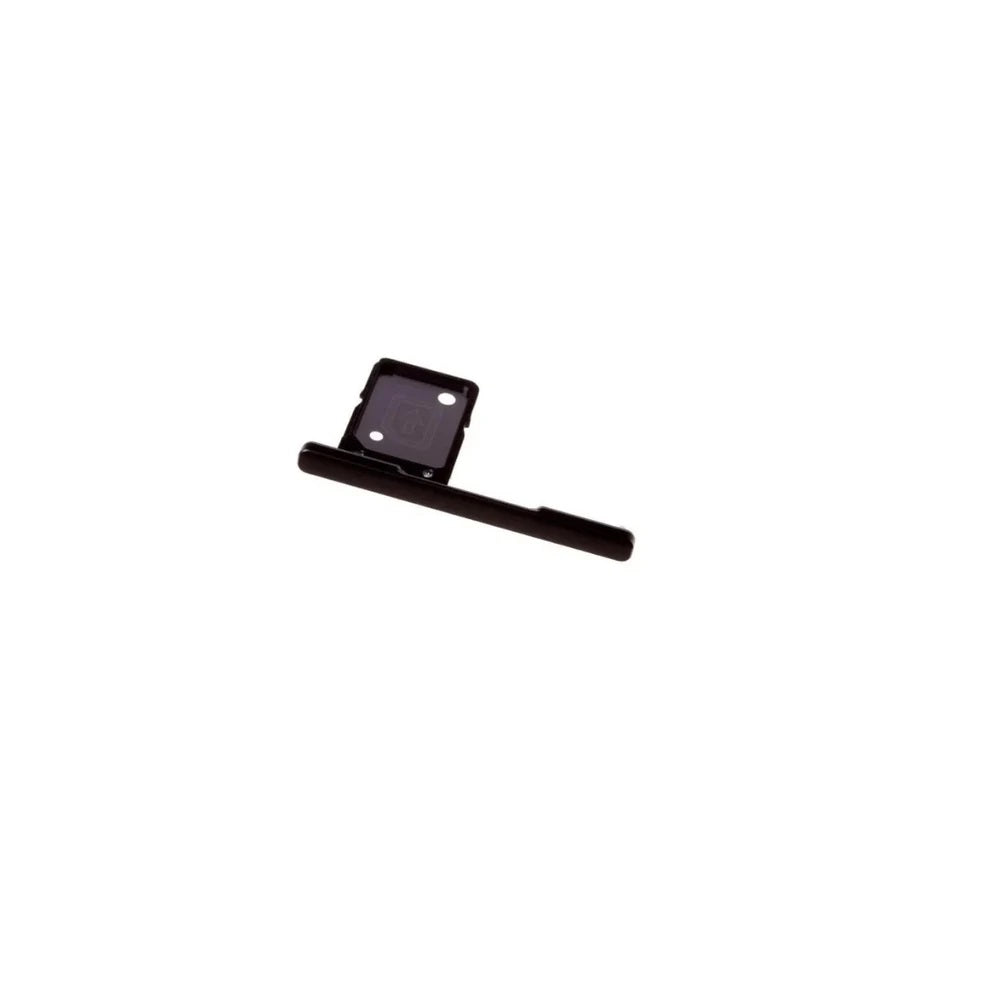
For Sony Xperia XA1 SIM Card Tray with Cover (Black)
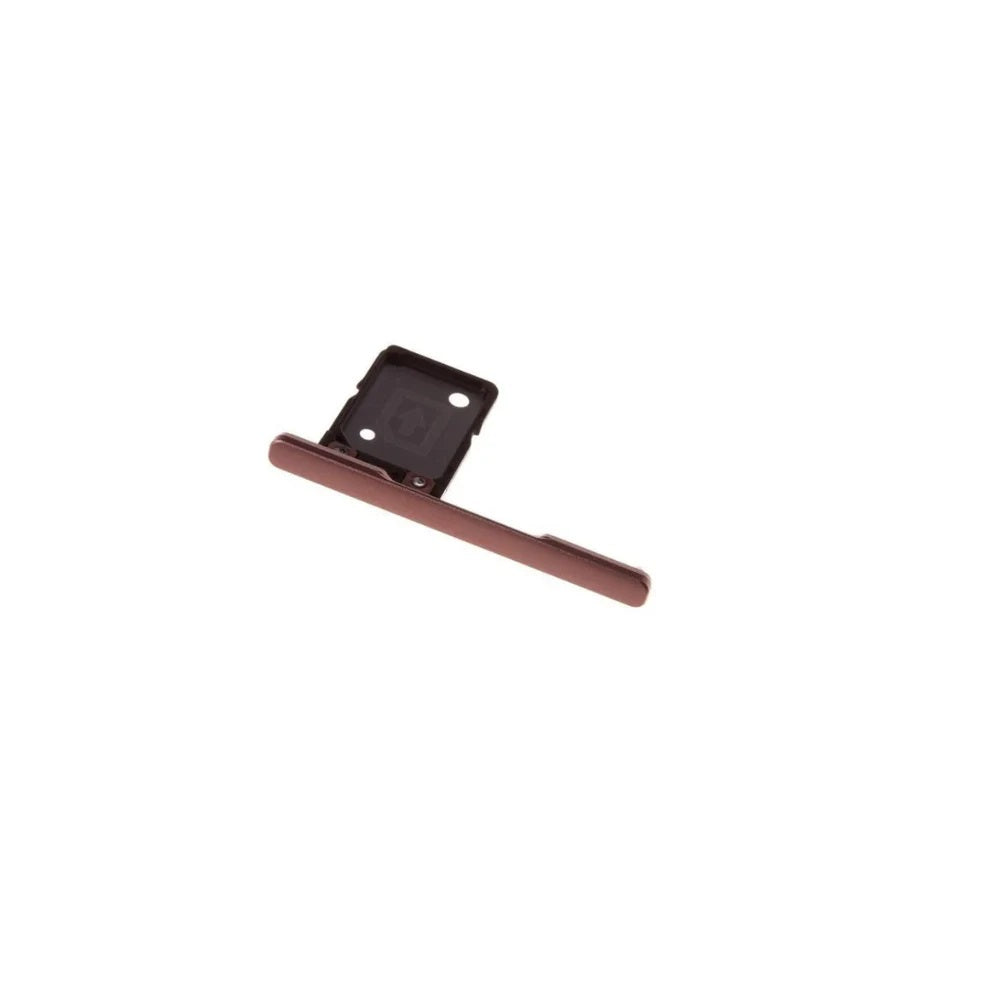
For Sony Xperia XA1 SIM Card Tray (Pink)
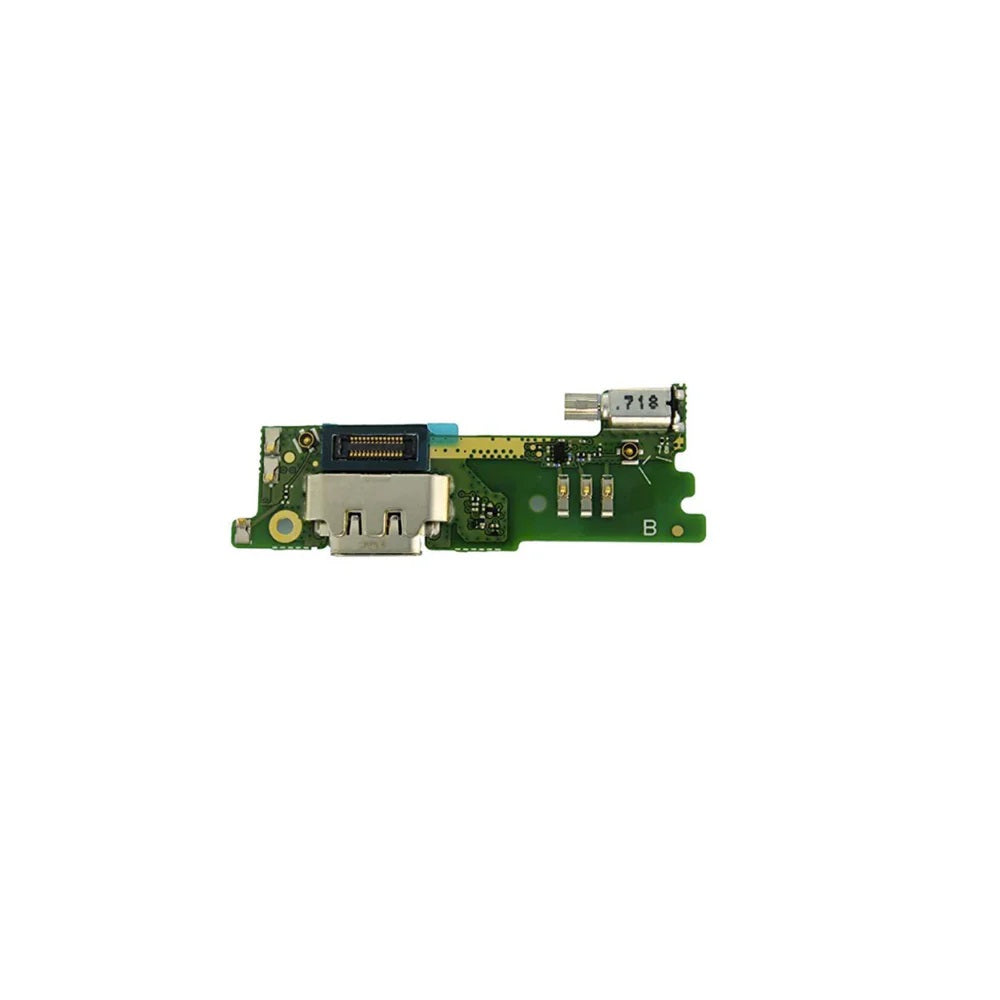
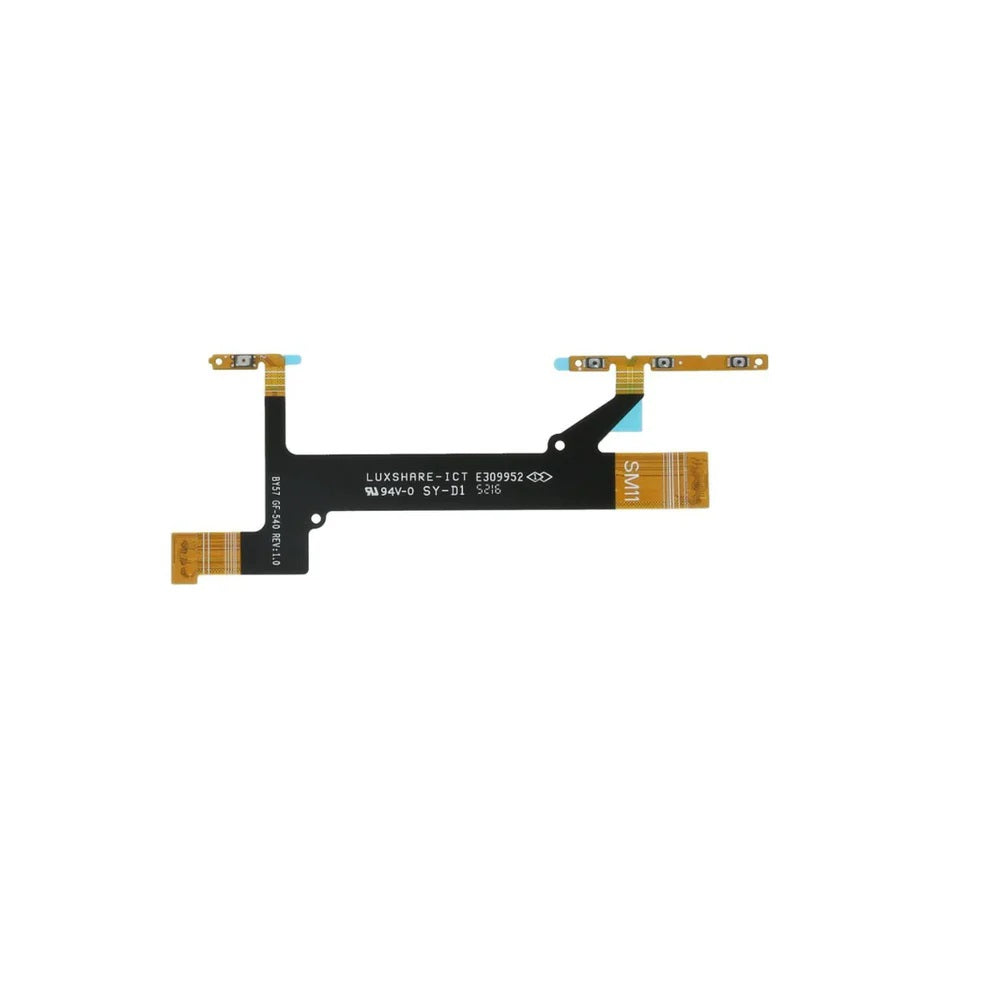
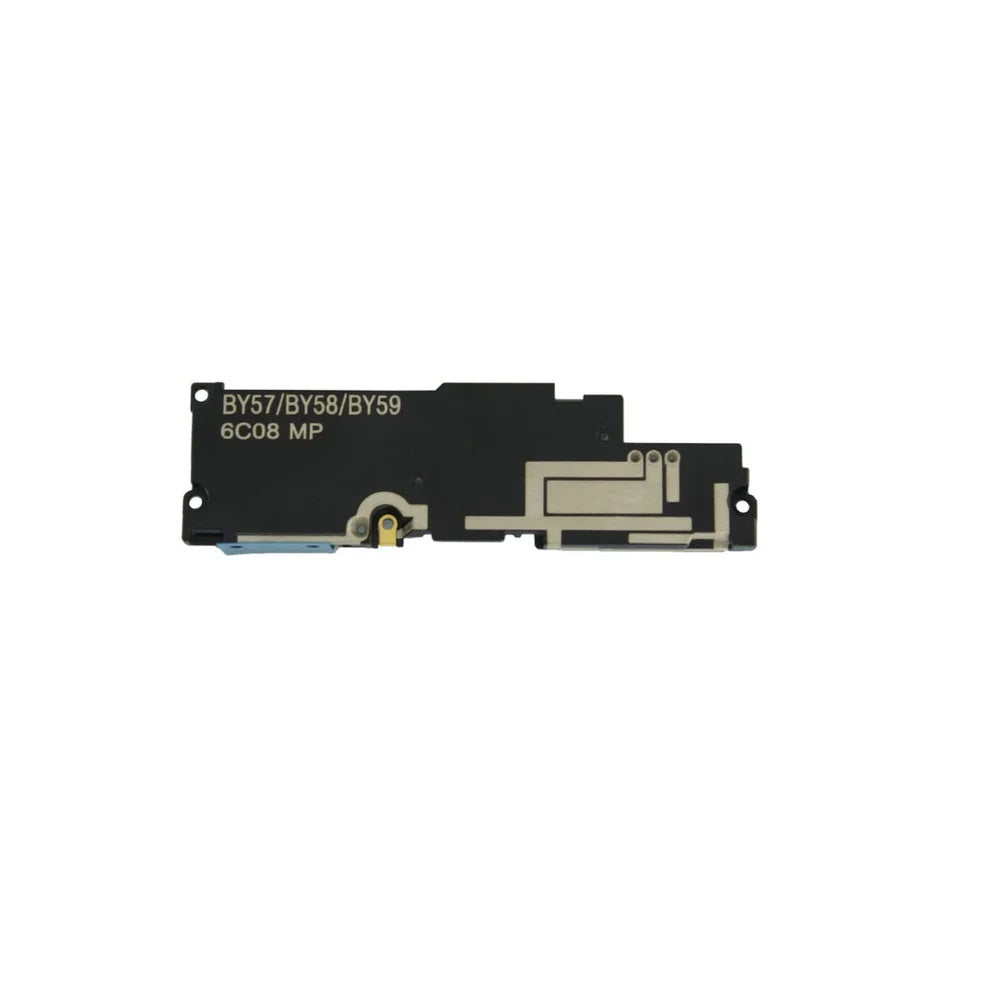
The Xperia XA1 range at E-Tech61 currently consists of five SIM card trays, three charging port flex cables, two screen assemblies, two power and volume button flex cables and two loudspeakers. The XA1 is listed alongside XA1 Ultra parts in this collection, and the two are different sizes, so read each title. Each Xperia XA1 product title names the model it fits, so you can check it against your device. Screen listings for the Xperia XA1 come in Black.
To confirm you have a Xperia XA1, open Settings, then About phone and check the model number. Whether you are a home repairer fixing one Xperia XA1 or a workshop handling several, the aim is the same: the right part for the exact model. Manchester dispatch is the same working day for Xperia XA1 orders with cleared payment before 4pm Monday to Friday, and support@etech61.com is there for compatibility questions.
Xperia XA1 Replacement Parts: Frequently Asked Questions
Which colour screen should I choose for my Xperia XA1?
Match the colour of your phone's front glass. Current Xperia XA1 screen listings come in Black. If the front is a different shade or you cannot tell, email support@etech61.com with a photo and your model number before ordering.
How do I check the exact model of my Xperia XA1?
Go to Settings, then About phone and note the number. Matching the model number to the product title is the safest check, because near-identical names can hide different connectors or frames. Email support@etech61.com with your number if you are still unsure.
Which Xperia XA1 parts are listed at the moment?
Right now the Xperia XA1 collection lists five SIM card trays, three charging port flex cables, two screen assemblies, two power and volume button flex cables and two loudspeakers. Anything missing may be added as stock arrives, and support@etech61.com is the place to ask about a specific part.
What tools do I need to repair a Xperia XA1?
A typical Xperia XA1 repair calls for precision screwdrivers, plastic pry tools, tweezers and gentle heat to release glued panels. Disconnect power before touching internal connectors, keep screws sorted by location, and take photos as you go so nothing ends up in the wrong place.