
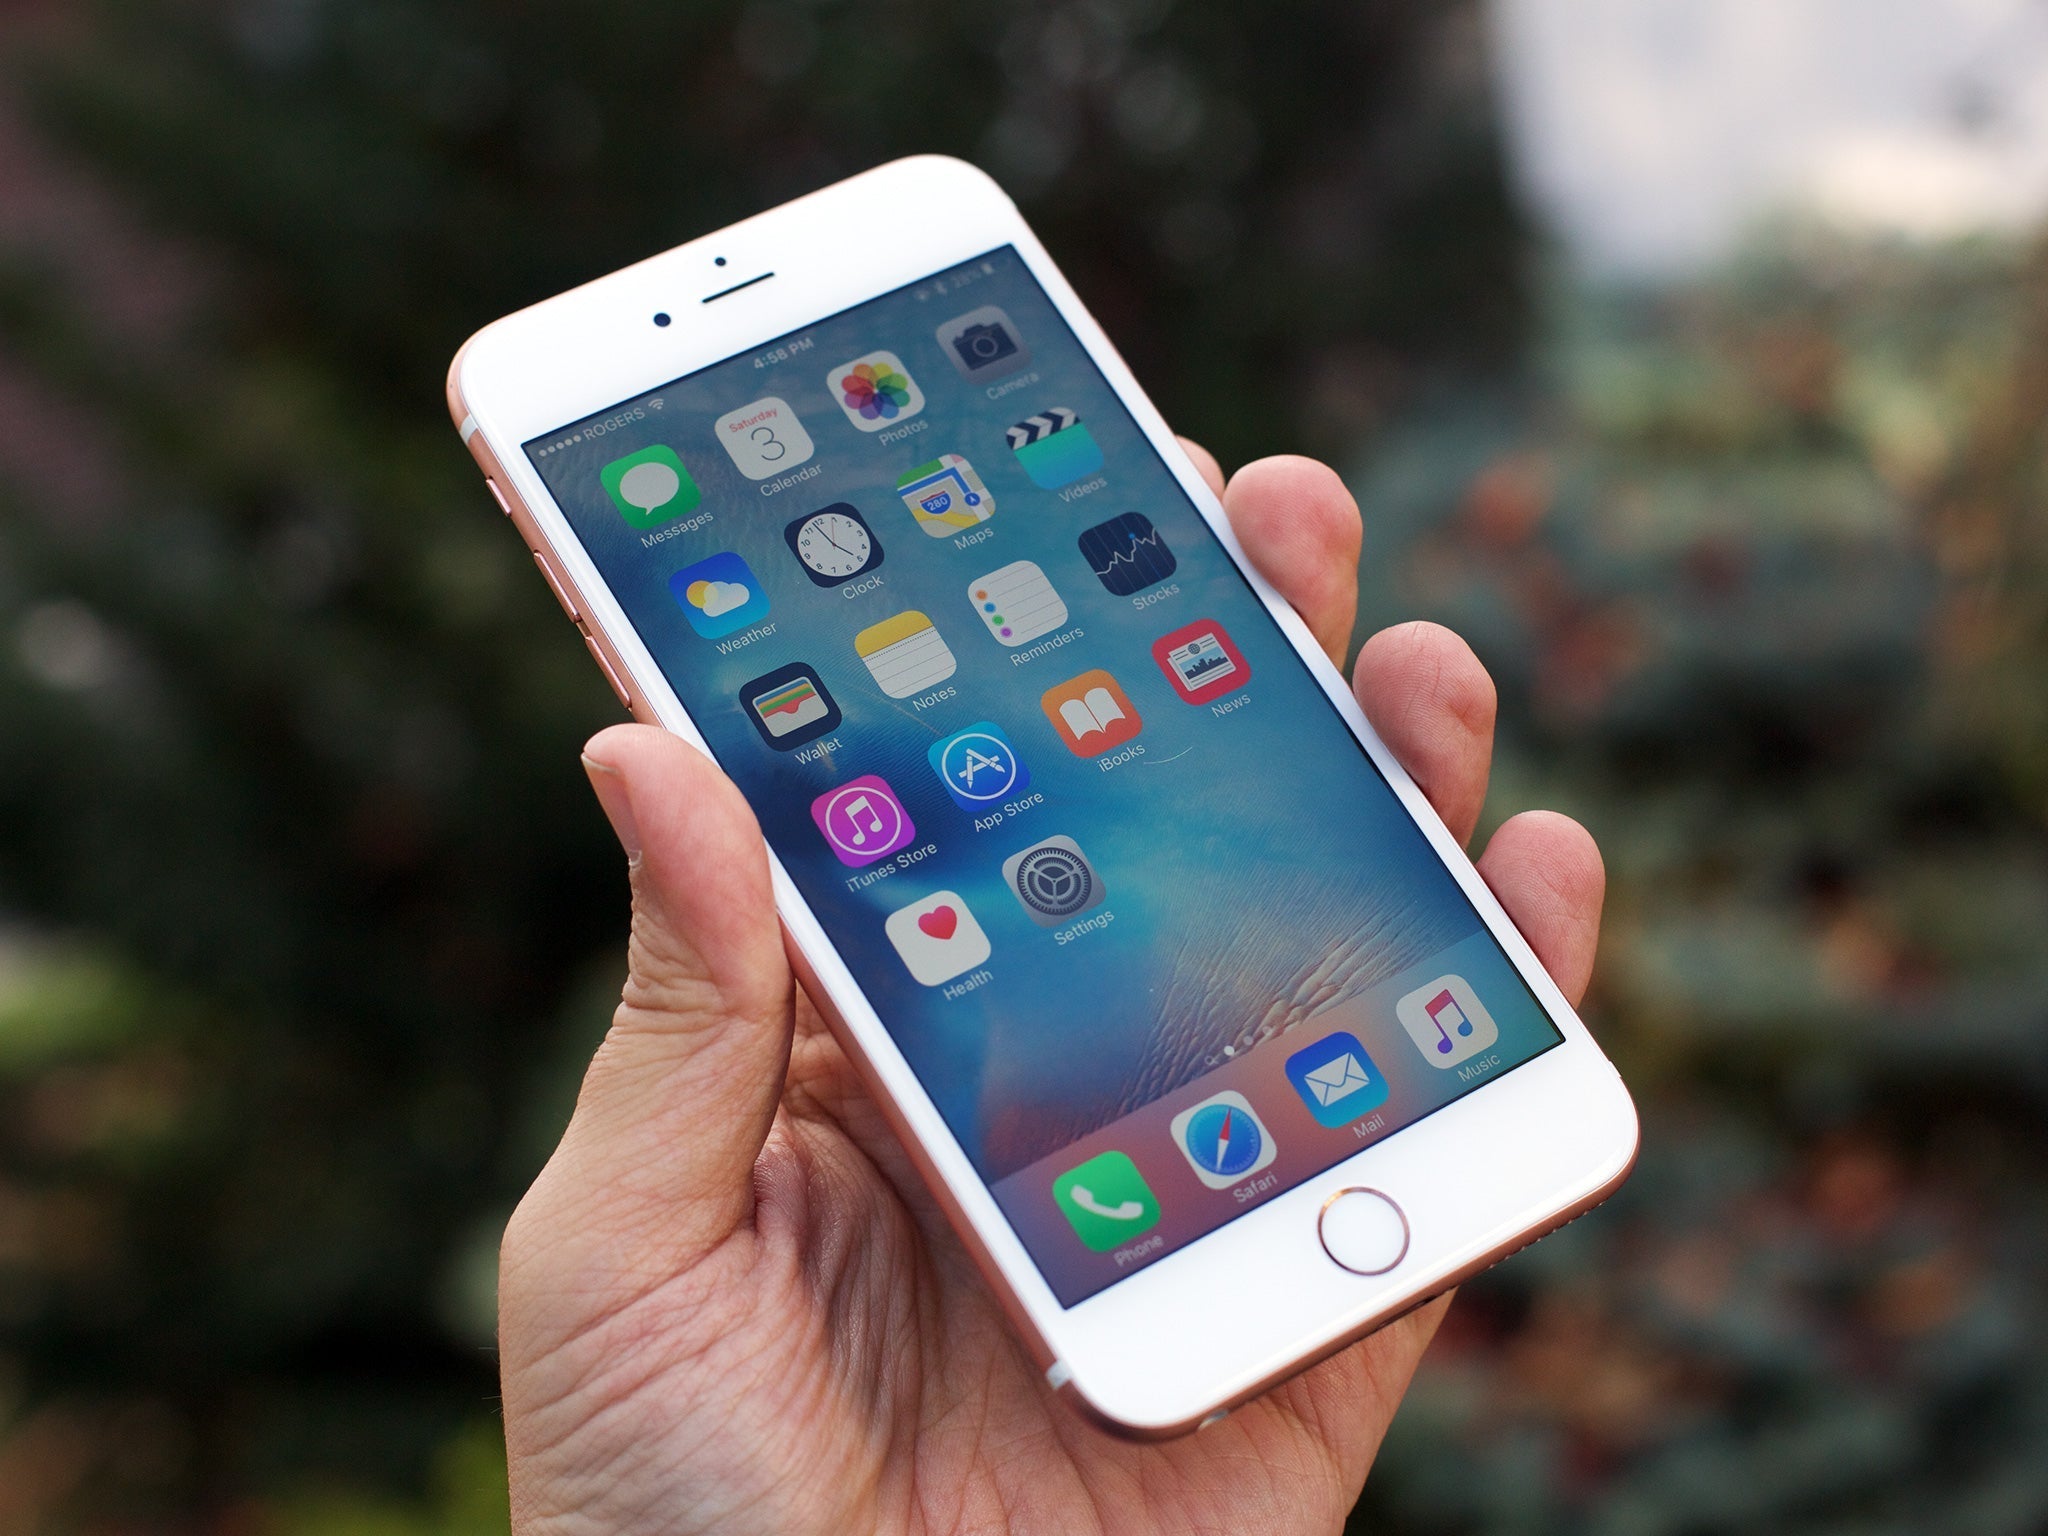
The home button stopped working on my iPhone 6S Plus about three years after I bought it. One day it just... quit. No response, no click, nothing. I tried the AssistiveTouch workaround that everyone recommends, but having that virtual button floating on your screen 24/7 feels like admitting defeat.
Here's what nobody tells you upfront about the Apple iPhone 6S Plus Replacement Home Button situation: it's technically possible to replace the physical button, but Touch ID will never work again unless Apple does it. Ever. This isn't me being dramatic—it's how Apple designed the security system, and it's both brilliant and infuriating at the same time.
Let me walk you through everything you need to know about fixing or replacing that home button, what actually works, and what's just wishful thinking.
Why Your Home Button Stopped Working
The iPhone 6S Plus home button isn't just a simple clicky switch. It's a sophisticated assembly that includes the Touch ID fingerprint sensor, a flex cable, and a rubber gasket that provides that satisfying click. Any of these components can fail.
Most commonly, the flex cable wears out. You've probably pressed that button thousands of times—unlocking your phone, returning to the home screen, activating Siri. The cable flexes every single time, and eventually it develops micro-tears that interrupt the electrical connection.
Sometimes it's actually moisture damage. The home button has a rubber gasket that's supposed to keep water out, but the iPhone 6S Plus water resistance is minimal at best. A little humidity in your bathroom or that time you answered a call in the rain? That moisture creeps in and corrodes the contacts.
Physical damage is obvious—if you dropped the phone and the home button took the impact, the internal components might have shifted or cracked. I've seen cases where the metal ring around the button gets dented inward and prevents the button from clicking properly.
Also Read:
iPhone 15 Battery Replacement
The Touch ID Problem You Need to Understand
Apple pairs each Touch ID sensor to the specific logic board it shipped with. It's a security feature called the Secure Enclave, and it's actually pretty clever from a privacy standpoint. Your fingerprint data never leaves that encrypted pairing between the sensor and the processor.
But here's the practical reality: replace the home button with a new one, and Touch ID is dead forever on that phone. You can replace the button and get the click function back, but the fingerprint scanner won't work. Period.
At E-Tech61, we get people asking about this constantly: "Can I replace iPhone 6S Plus home button myself and keep Touch ID?" The answer is no, unless you're swapping in the original home button from the same exact phone, which defeats the purpose of a replacement.
Apple Stores and Apple Authorized Service Providers have special software that can re-pair a new Touch ID sensor to your logic board. Third-party repair shops can't do this—Apple doesn't provide the tools or access. So your choices are limited.
What It Actually Costs to Fix
Let me break down the iPhone 6S Plus home button replacement cost across different options, because the price range is wild depending on who does the work.
Apple Store repair: They don't replace just the home button—they replace the entire screen assembly since the home button is integrated with it on the 6S Plus. You're looking at $149 if you don't have AppleCare+. With AppleCare+, it's a $29 screen replacement fee, and yes, your Touch ID will work after because they use their proprietary calibration tools.
Third-party repair shops: Anywhere from $40 to $90 for a home button replacement that restores the physical click but kills Touch ID permanently. The price variation depends on whether they're using genuine Apple parts salvaged from broken phones or aftermarket components.
DIY with aftermarket parts: The parts cost $8 to $25 online. You'll need tools (another $10-15 if you don't have them). Total investment around $20-40, and you'll spend 1-2 hours doing the repair if it's your first time. Touch ID won't work when you're done.
DIY with your original button: Free if you're just reconnecting a loose cable or cleaning corrosion. This is the only scenario where you keep Touch ID functionality doing it yourself.
Here's my honest take: if Touch ID matters to you and the phone is otherwise in good shape, pay Apple the $149. If you don't care about fingerprint unlock and just want the physical button working, DIY or third-party is fine.
Before You Start Taking Things Apart
Try the software fixes first. I know you've probably already done this, but humor me because I've seen people tear apart phones when the issue was actually iOS-related.
Restart your iPhone completely. Hold the power button and home button together for 10 seconds until the Apple logo appears. Sometimes the home button driver just crashes and needs a reboot.
Update to the latest iOS version your 6S Plus supports. Go to Settings > General > Software Update. Apple sometimes includes fixes for hardware communication issues in updates.
Reset all settings (Settings > General > Reset > Reset All Settings). This won't delete your data, but it resets all your preferences. Sometimes a corrupted setting file interferes with home button communication.
Recalibrate the home button using this trick: open any stock Apple app (Clock, Weather, whatever), press the power button until "slide to power off" appears, then press and hold the home button until the screen returns to the home screen. This supposedly recalibrates the button response—I'm about 50/50 on whether it actually works, but it takes 30 seconds to try.
Still not working? Okay, now we're getting into actual hardware repair territory.
Also Read:
iphone 16 plus lcd screen replacement
The Tools You'll Need
If you've decided to tackle the how to replace iPhone 6S Plus home button question yourself, here's your shopping list. Don't cheap out on tools—bad tools damage your phone worse than the original problem.
A pentalobe screwdriver set—the tiny 5-point star screws Apple uses. The P2 size specifically for iPhone 6S Plus.
Phillips #000 screwdriver for the internal screws. Not #00, not #0—triple-zero. The difference matters.
Plastic opening tools or guitar picks. Metal pry tools will scratch everything and potentially short circuit components.
Suction cup for lifting the screen. The $2 ones from hardware stores work fine.
Tweezers with a fine point for handling small screws and cables.
A magnetic project mat or small containers to organize screws. The iPhone 6S Plus uses different length screws in different positions, and mixing them up will cause problems.
Some people recommend heat guns or hair dryers for softening adhesive, but the 6S Plus doesn't have much adhesive around the screen compared to newer models. You probably won't need it.
Where to buy iPhone 6S Plus home button parts matters. Amazon has tons of options ranging from $8 to $25. The $8 ones are garbage—trust me, I've tried them. The button feels mushy, the click is weird, and they fail within months. Spend at least $15-20 for a decent aftermarket button with the flex cable assembly included.
iFixit sells quality parts with good instructions. Mobile Defenders is another reliable source. eBay can work if you're buying from established sellers with thousands of positive reviews, but it's riskier.
Step-by-Step: How to Replace the Home Button
Power off your phone completely. This seems obvious, but people skip this step surprisingly often and short something out.
Opening the iPhone
Remove the two pentalobe screws on either side of the lightning port. These are tiny—put them somewhere safe immediately.
Use the suction cup to lift the screen slightly near the home button. Don't pull hard; you're just creating a gap to slide a plastic opening tool into.
Slide the pick along the edge to release the clips holding the screen. The 6S Plus has clips on the sides, not adhesive like newer iPhones. Work slowly around the perimeter.
Once the clips are free, open the screen like a book, hinging from the top where the cables connect. Don't pull it all the way open—there are still cables attached. Prop it open at about 90 degrees using something soft (a folded cloth works).
Disconnecting the Display
You'll see a metal bracket covering the display cable connectors in the top right area. Remove the four Phillips #000 screws holding this bracket. These are different lengths—remember which hole each came from.
Carefully pry up the three display cables using a plastic tool. They're pressure connectors, so they pop straight up. Don't use metal tweezers here; static discharge can fry these cables.
The home button cable is the small one closest to the battery. Disconnect it by flipping up the tiny latch (it's brown or black depending on your model) and pulling the cable straight out.
Now you can fully separate the screen from the phone body and work on it comfortably.
Removing the Old Home Button
Flip the screen over. You'll see two screws holding a metal bracket over the home button. Remove these and set the bracket aside.
The home button flex cable runs under a portion of the LCD shield plate. You need to carefully peel it up—there's mild adhesive holding it. Don't yank it; work slowly to avoid tearing the cable.
The home button itself is held in place by a metal bracket and the rubber gasket. Once the cable is free, the button should lift out easily from the front.
Installing the New Button
Here's where things get real: if you're installing an aftermarket button, understand that Touch ID is now dead on this phone. The fingerprint scanner won't work. The click will work, the return-to-home function will work, but biometric unlock is gone.
Position the new home button in the opening from the front of the screen. Make sure the metal ring sits flush.
Route the flex cable along the same path the old one took. The cable needs to fold in a specific way to avoid getting pinched when you reassemble everything.
Secure the metal bracket over the home button connection point with the two small screws.
Testing Before Full Reassembly
Here's a trick that saves hours of frustration: test the button before you seal everything up.
Reconnect just the home button cable to the logic board. You don't need to connect the display cables yet.
Power on the phone while holding the screen near the body (don't let it dangle and stress the cables).
Press the home button. Does it respond? Does it click properly? If yes, great—power off and finish reassembly. If no, you either have a defective part or the cable isn't seated correctly.
I can't stress this enough: test before final assembly. Opening the phone twice because you didn't test is miserable.
Putting Everything Back Together
Reconnect all three display cables to the logic board. Press them straight down until they click.
Replace the metal bracket over the connectors and screw it down with those four Phillips screws (remember, they're different lengths).
Carefully lower the screen back onto the phone body, making sure the top edge aligns first where the cables are.
Press along the edges to snap the clips back into place. You should hear/feel them click.
Replace the two pentalobe screws at the bottom.
Power on and test everything. The home button should work for navigation, but again, Touch ID won't function with an aftermarket button.
Also Read:
iPhone 17 Pro Max OLED Screen Replacement
The Touch ID Sensor Pairing Reality
People keep asking: "Can I replace iPhone 6S Plus home button myself and keep Touch ID working?" I've explained this already, but let me be absolutely crystal clear because this is the most common misconception.
Each iPhone 6S Plus Touch ID sensor is cryptographically paired to its logic board during manufacturing. This pairing happens in the factory using proprietary Apple calibration equipment. The Secure Enclave chip on the logic board will only accept fingerprint data from the specific sensor it was paired with.
Replace that sensor with a different one—even a genuine Apple sensor from another iPhone 6S Plus—and the Secure Enclave refuses to communicate with it. iOS detects the mismatch and disables Touch ID permanently. You'll get an error message: "Failed to activate Touch ID on this iPhone."
The only way to restore Touch ID after a home button replacement is to have Apple or an Apple Authorized Service Provider do the repair using their proprietary software that re-pairs the new sensor. Third-party shops don't have access to this software.
Some sketchy YouTube videos claim you can "reprogram" or "bypass" this security feature. You can't. Those videos are either outright scams or they're showing you how to restore the click function without Touch ID, which you can do with any replacement button.
When the Home Button Cable Is Just Loose
Sometimes the issue isn't a broken button—it's a loose connection. The home button connector can work itself partially out of its socket from the phone flexing in your pocket or from previous repair work.
If you're comfortable opening your phone (following the steps I outlined above), disconnect and reconnect the home button cable. Clean the contacts with 90%+ isopropyl alcohol on a lint-free cloth. Let it dry completely (alcohol evaporates fast), then reconnect.
I've fixed several "broken" home buttons this way. The button was fine; it just needed to be reseated. This fix keeps your Touch ID working because you're using the original button.
What About the AssistiveTouch Workaround
If your home button is completely dead and you're not ready to repair it yet, enable AssistiveTouch as a temporary solution. Go to Settings > Accessibility > Touch > AssistiveTouch and toggle it on.
This puts a virtual home button on your screen that you can position anywhere. Tap it to access home button functions, multitasking, Siri, etc.
It's functional but annoying. That floating button covers part of your screen constantly. You can set it to fade when not in use (Settings > Accessibility > Touch > AssistiveTouch > Idle Opacity), which helps slightly.
Some people use this as their permanent solution. I used it for about three weeks before I couldn't stand it anymore and did the repair. Your tolerance may vary.
Other Common iPhone 6S Plus Issues While You're In There
If you're already opening your phone to fix the home button, you might want to address other problems at the same time. The iPhone 6S Plus has a few components that commonly fail around the same time.
The loudspeaker fails pretty regularly. If your ringtones are quiet, distorted, or silent, you might need an Apple iPhone 6S Replacement Loudspeaker. It's located at the bottom of the phone, easy to access when you've got the screen off. Replacement speakers cost $10-15 and take an extra 10 minutes to swap.
The earpiece speaker also wears out. If people sound muffled during calls or you can barely hear them, that's likely the Apple iPhone 6S Replacement Earpiece Speaker. Interestingly, the iPhone 6S Plus uses the same earpiece as the regular 6S, so parts are widely available. Some listings say "iPhone 6S Plus Replacement Earpiece Speaker" but they're interchangeable with the 6S version—same part. This repair is slightly more involved because the earpiece sits under more components, but it's doable.
Battery degradation is almost guaranteed if your phone is several years old. The 6S Plus has a 2750mAh battery that typically lasts 2-3 years before noticeable degradation. Check your battery health in Settings > Battery > Battery Health (if you're on iOS 11.3 or later). Anything below 80% capacity means you should replace it while you've got the phone open.
Finding Quality Replacement Parts
The parts market for iPhone 6S Plus is flooded with junk. China manufactures aftermarket parts at every possible quality level, from "basically identical to Apple OEM" down to "will probably catch fire."
Genuine Apple iPhone 6S Plus home button parts salvaged from broken phones are available but expensive ($30-50) and pointless if you don't have Apple's pairing software. You're paying premium prices for Touch ID functionality you can't activate.
Best replacement home button for iPhone 6S Plus in the aftermarket category? Based on repairs I've done and parts I've tested, look for listings that include "high quality" in the title and cost $15-20. The $8 buttons are universally terrible—mushy clicks, thin flex cables that tear easily, inconsistent electrical contact.
Read the recent reviews, not just the rating. Look for reviews from people who've had the part installed for months, not just "arrived quickly, looks good" reviews from people who haven't installed it yet.
iFixit's parts are consistently good quality. They cost slightly more ($20-25 for a home button assembly) but include detailed instructions and have actual quality control. If you value your time, spending an extra $5-10 to avoid getting a defective part is worth it.
eBay can work if you know what to look for. Filter by "US seller" if you're in the US and don't want to wait 3-4 weeks for shipping from China. Check the seller's feedback specifically for iPhone parts, not just overall rating.
The Fix Broken iPhone 6S Plus Home Button at Home Reality
I've walked you through the entire repair process, but let me be straight with you about whether you should actually do this yourself.
This repair is moderately difficult. It's not as simple as swapping a SIM card, but it's not as complex as microsoldering on a logic board. If you've never opened a phone before, the 6S Plus is actually a decent first repair because it's older technology with more repair-friendly construction than modern iPhones.
That said, you can break things. The display cables are fragile. If you're rough with the pry tools, you can crack the LCD. If you strip one of those tiny screws, you're in for a bad time. The home button flex cable itself can tear if you're not careful.
Your success largely depends on your personality. Are you patient and detail-oriented? Can you follow instructions precisely? Do you have good fine motor control? Then you'll probably be fine.
Are you the type who rushes through IKEA instructions and ends up with extra screws? Maybe pay someone else to do this repair.
When Professional Repair Makes More Sense
Let's say you've read all this and you're thinking "nope, not doing that." Fair enough. Here's how to find decent professional repair for your iPhone 6S Plus Touch ID replacement near me.
Apple Stores are the safest option for keeping Touch ID functional. They charge $149 for screen replacement (which includes the home button), but your fingerprint scanner works when you get it back. If you're within driving distance of an Apple Store, book a Genius Bar appointment.
Apple Authorized Service Providers are scattered around and can do the same repair with the same official parts and calibration software. Use Apple's support site to find authorized providers in your area. They sometimes charge slightly less than the Apple Store ($129-139 instead of $149).
Third-party repair shops are hit or miss. The good ones are upfront about the Touch ID limitation: "We can replace your home button and restore the click function, but Touch ID won't work anymore, and we charge $60." The sketchy ones don't mention the Touch ID problem until after the repair.
Call ahead and ask specific questions:
- Will Touch ID work after the repair?
- What brand parts do you use?
- What's the warranty period?
- How long does the repair take?
Any shop that promises to restore Touch ID functionality but isn't Apple-authorized is lying to you. Either they don't understand the technology, or they're hoping you won't notice until after you've paid.
uBreakiFix (now Asurion Tech Repair) does decent work but can't restore Touch ID on third-party button replacements. They're usually $80-100 for home button repair with a 1-year warranty on parts and labor.
Best Buy's Geek Squad can send your phone to Apple for repair, which gets you the official repair with Touch ID working, but it takes 5-7 days and costs the same as going directly to Apple.
Living Without Touch ID
If you replace the home button yourself or go to a third-party shop, you're giving up fingerprint unlock. For some people, that's no big deal. For others, it's a dealbreaker.
You'll need to use a passcode for everything. Unlocking your phone, authorizing App Store purchases, signing into banking apps—all require typing your passcode. It's slower and less convenient.
Apps that used Touch ID for authentication will fall back to passcode or password. Banking apps, password managers like 1Password, and payment apps all rely on biometric security. You can still use these apps, just not with fingerprint verification.
Apple Pay might be limited. You can still use your passcode to authorize Apple Pay transactions, but it's less seamless than just resting your finger on the sensor.
For many people, going back to passcode-only is fine. We all used passcodes before Touch ID existed. But if you've gotten used to the convenience of biometric unlock, losing it feels like a significant downgrade.
Is This Phone Worth Fixing?
The iPhone 6S Plus came out in 2015. Apple stopped selling it in 2018 and ended software support with iOS 15 in 2021. It can't run iOS 16 or newer, which means you're not getting security updates anymore.
So why are people still repairing these phones? Nostalgia, mostly. The 6S Plus was the last iPhone with a headphone jack. It has a home button (when it works), which some people strongly prefer over the gesture controls on newer iPhones. The design is repairable in ways that modern iPhones aren't.
If your phone is in good shape otherwise—decent battery life, working cameras, no major damage—spending $20-40 on a DIY home button repair makes sense. That gives you another year or two of use while you save for a newer device.
But if you need a home button repair AND a new battery AND a new screen AND the charging port is flaky, you're approaching the cost of a used iPhone 8 or iPhone XR. At that point, just upgrade.
At E-Tech61, we always tell people: repair makes sense when it extends the life of an otherwise functional device. Repair doesn't make sense when you're throwing good money after bad trying to keep a dying phone on life support.
What Actually Works vs. What's Wishful Thinking
Let me clear up some common myths about iPhone 6S Plus home button repair that keep circulating:
Myth: You can transfer Touch ID to a new button if you're careful enough.
Reality: Nope. The pairing is cryptographic and stored in the Secure Enclave. No amount of careful installation changes this.
Myth: There's a software hack to bypass Apple's Touch ID security.
Reality: If such a hack existed, it would be a massive security vulnerability that Apple would patch immediately. It doesn't exist.
Myth: All replacement home buttons are basically the same quality.
Reality: Part quality varies wildly. The $8 buttons feel terrible and fail quickly. The $20+ buttons are usually decent.
Myth: You can damage your phone permanently if you open it.
Reality: You can damage components, but it's unlikely you'll brick the phone beyond repair unless you do something really wrong like puncturing the battery.
Myth: Aftermarket home buttons only last a few months.
Reality: Decent quality aftermarket buttons can last years. I've got phones I repaired three years ago still clicking away with third-party buttons.
What actually works: replacing the physical button to restore click functionality and home button navigation. This is totally doable.
What doesn't work: keeping Touch ID functional with a replacement button unless Apple does the repair.
Making Your Decision
You've got all the information now. The Apple iPhone 6S Plus Replacement Home Button repair is straightforward if you're comfortable with small electronics work. You'll lose Touch ID unless you pay Apple to do it, but you'll get your home button functionality back.
The repair costs $20-40 DIY or $60-100 third-party without Touch ID, versus $149 at Apple with Touch ID. Tools cost another $15-20 if you don't have them.
If Touch ID matters and the phone is worth $149 to you, take it to Apple. If you just want the button working and don't care about fingerprint unlock, DIY or third-party is fine.
Whatever you decide, at least you're making an informed choice instead of blindly following someone's 6-minute YouTube video that glosses over all the important details. That home button isn't going to fix itself, but now you know exactly what fixing it actually involves.
Share:
Galaxy S8 Plus Replacement Earpiece Speaker Guide
Samsung S8 Plus OLED Replacement Guide | E-TECH61